Free Power of Attorney Form
A Power of Attorney form (POA) allows you to grant someone permission to make financial or medical decisions on your behalf. The designated individual, known as the agent or attorney-in-fact, can handle affairs as specified in the document, temporarily or permanently.

Trusted by 69,501 users.
Create Your State-Specific POA
Fill forms in a few steps
Save, print & download
Done in 5 minutes
What Is a Power of Attorney?
A Power of Attorney (POA) is a legal form that allows you (known as the Principal) to appoint another person - known as the Agentor Attorney-in-Fact - to make decisions on your behalf.
There are also Durable Power of Attorneys to appoint a person to control your finances.
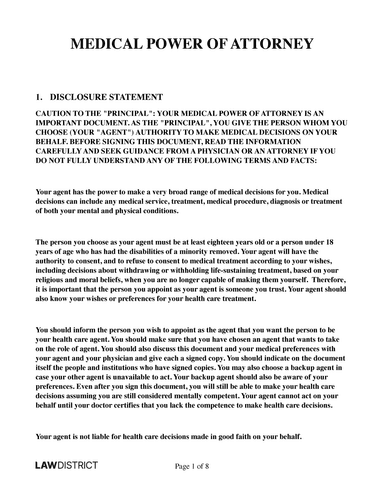
Medical Powers of Attorney, and Advanced Health Care Directives allow you to name a trusted person to oversee your medical care and make healthcare decisions for you if you are unable to do so.
When To Use a Power of Attorney
Power of Attorneys can be used when you need to flexibly delegate financial responsibilities to another person in your absence or incapacity [1].
Some of these financial responsibilities include:
- Signing contracts
- Buying and selling stocks and bonds
- Managing your real estate investments
- Collecting pensions from the government or military
- Managing commercial transactions
- Making financial gifts to family members and employees
Alternatively, POAs can be used to create contingencies for when you reach advanced age or become incapacitated.
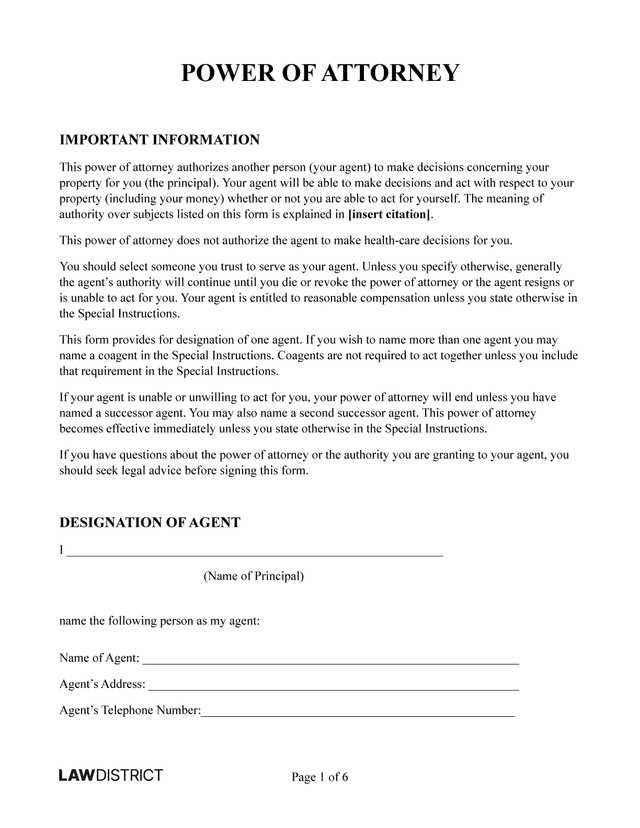
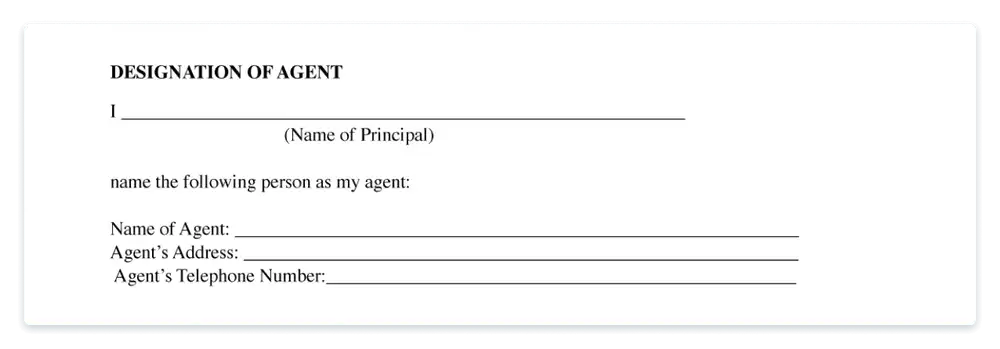
Power of Attorney Document Sample
The generic example below shows what a completed Power of Attorney form normally looks like. This document can’t be used across all states and in all circumstances, however using Lawdistrict’s template creation tools, you can build a form that is specific to your necessities.
Power of Attorney Forms by State
Each state has its own POA laws, such as how to revoke a Power of Attorney, signing requirements, and more. Find your state’s form below to understand how to draft your document.
Types of Power of Attorney
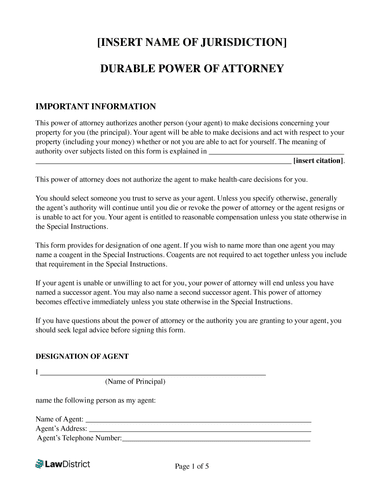
A Durable Power of Attorney form (DPOA) is a legal instrument that enables an individual to designate a trusted person to manage their financial affairs should they become incapable of doing so themselves
A Durable Power of Attorney form (DPOA) is a legal instrument that enables an individual to designate a trusted person to manage their financial affairs should they become incapable of doing so themselves

A Power of Attorney for Child is a legal form used by parents to grant temporary delegation of parental authority to someone else
How To Write a Power of Attorney Form
Creating a Power of Attorney is a fairly simple process if all parties are in agreement and of sound mind. In many cases, it’s as easy as creating a form and having it signed and notarized (depending on your state’s laws) [3].
When writing a POA, simply follow these steps:
1. Choose an Agent
Decide who will be your agent(s). This should be someone you trust and who you can confidently grant this authority to manage your finances or affairs.
You can choose more than one agent if you wish.
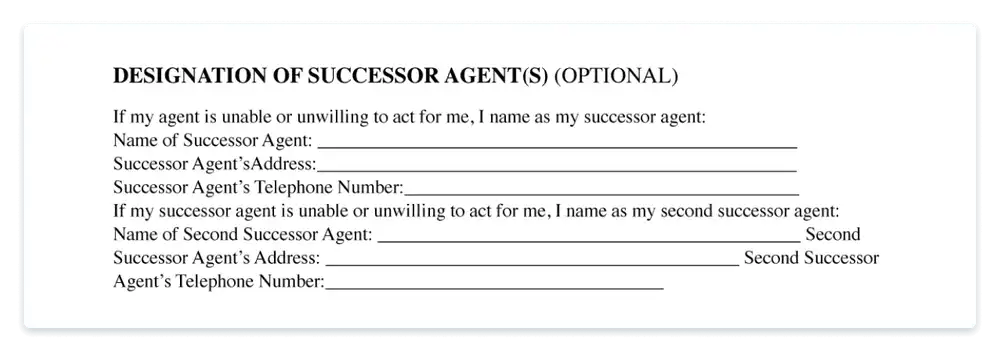
2. Designate a Successor Agent
Stipulate if you are appointing any successor agents. These individuals will be able to take over if one or more agents cannot serve for any reason.
You should also assign a second successor agent in case both of your primary choices cannot act as your agent.
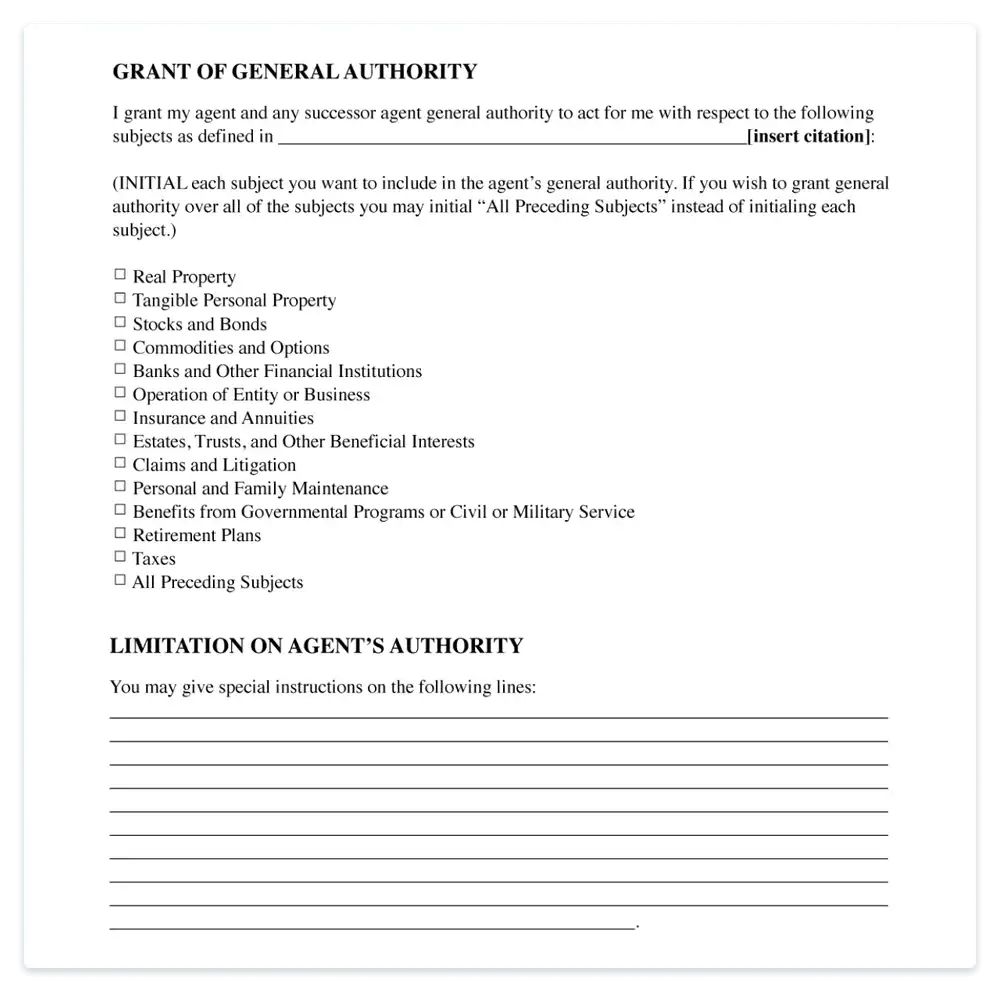
3. Grant Authority and Limitations
You can choose to grant your agents control over all your affairs or pick and choose the subjects you want them to have control over.
You may also select any specific acts you would like or not like your agent to have control over such as creating a beneficiary designation.
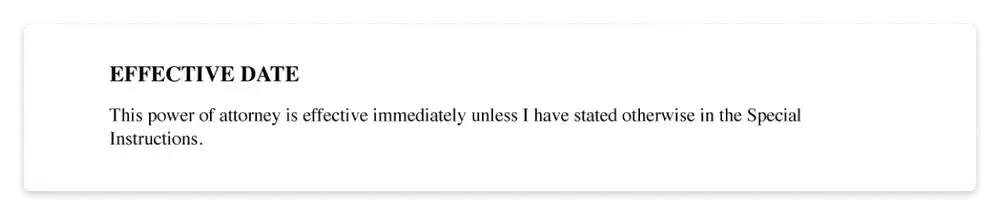
4. Specify the Effective Date
Specify when these powers will begin and end in the future: Normally, Power of Attorney starts as soon as you sign the document, but you can also specify a future date or triggering event for when your Agent can act for you if you wish.
5. Follow Your State’s Signing Requirements
Both you and the agent(s) should sign the document. The signing of the document may need to be officially witnessed, or you may need to visit a notary public or state official before signing to ensure the final document is valid.
These requirements vary from state to state.
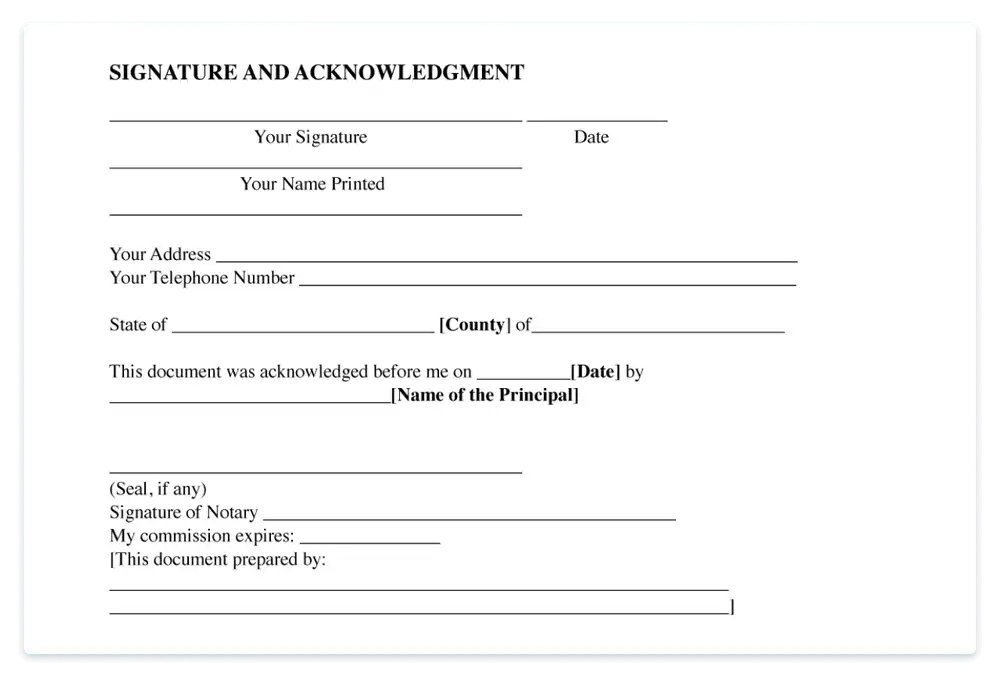
6. Notarize the document
Notarize the signing by visiting a notary public in the state where your document is to take effect. Keep in mind that notarization is not required in every state, as some may have different regulations regarding the notarization of a Power of Attorney.*
However, by going to a notary public you can add legitimacy to your document even in states that do not require it.
7. Store the document
Keep the document somewhere safe for further use. Your agent will need to present the completed and signed form whenever they perform one of their appointed duties.
When completed, signed, and notarized, the Agent will then be able to approve transactions, sell a property and handle your assets in your place.
In order to do so, they will need to present the approved form when signing a contract on your behalf and must name both you, the Principal, and themselves as Attorney-in-Fact on the form.
Power of Attorney Rights and Limitations
Your agent’s authority is always limited by:
- The type of document
- The terms you set
- The law
Below is a breakdown of what they can and cannot do:
| Type of POA | What the Agent Can Do | Limitations |
|---|---|---|
| Medical POA | Make health care decisions, choose doctors, approve treatments, decide on care facilities. | Only applies to medical matters; usually activates when you're incapacitated. |
| Financial POA | Manage finances, pay bills, handle investments, buy/sell assets, file taxes | No control over medical decisions; must follow financial limits in the document. |
| General POA | Handle a broad range of financial and sometimes legal matters. | Ends if you become incapacitated (unless durable). It's scope depends on what's included. |
| Durable POA | Continue managing your affairs even after incapacity. | Must follow the same limits in the document. It does not override restricted powers. |
| Springing POA | Act on your behalf only after a triggering event (e.g. incapacity). | No authority until the condition is officially met. |
| Limited (Special) POA | Perform specific tasks (e.g. sell a property, sign a contract). | Strictly limited to the task and timeframe defined in the POA. |
Important: These rights and limits ultimately depend on the terms you set, and the laws in your state. You should have a legal professional review your document to make sure it meets all legal requirements.
What Is the Uniform Power of Attorney Act?
As each state has its own requirements for POA documents, complications can arise if you need to move to another location. To make it easier for anyone who moves to another state, certain jurisdictions have adopted and enacted the Uniform Power of Attorney Act (UPOAA).
The UPOAA definition of Power of Attorney (UPOAA Section 102 (page 7) states that a POA is created whenever decision-making authority is granted to another individual:
“Power of attorney” means a writing or other record that grants authority to an agent to act in the place of the principal, whether or not the term power of attorney is used.
If you created a POA in a state that follows this definition and has enacted the UPOAA certain key elements will be standardized in your document such as:
- Who is considered to be a valid agent
- Which powers can be given to an agent
- How a POA relationship can be ended
This ensures that parts of your POA will not be upheld.
Other Estate Planning Documents
There are similar legal documents that can further help you choose someone to make decisions regarding your property, health, and finances on your behalf.
These related documents can give you more control when it comes to ensuring that your financial and medical wishes are respected.
These documents include:
Revise these legal forms to give yourself further control of your finances, property, and health.
Sources:
[1] Power of Attorney. American Bar Association.
[2] Facts About the Uniform Power of Attorney Act. Uniform Law Commission.
Power of Attorney FAQs
If you’re still uncertain if a Power of Attorney template is right for you, have a read through our FAQs to find out more.
The points below better explain the options available and how the process of getting a POA approved works.
The Power of Attorney form is a legal document that can be acquired either online, from your bank or healthcare provider, or from an Attorney-at-Law, although this option can incur costs.
Lawdistrict allows you to create a Power of Attorney online for free and for a variety of purposes, making it a reliable foundation for your legal journey.
The type of Power of Attorney form you choose and where you get it ultimately depends on what your necessities are and how and why you wish to appoint a Power of Attorney.
You may need to notarize your Power of Attorney, depending on the state that it will be signed and used in.
Certain states require two witnesses and notarization, or the option of two witnesses or notarization to be considered legally valid.
Even if your state doesn’t require you to have your Power of Attorney notarized, you will strengthen the validity of your document by doing so.
Always review your state’s signing requirements beforehand.
Signing a Power of Attorney is essential to ensure that the document is considered legally valid.
Once the principal has named you as agent and signed the document, you must add your signature as well.
Once you are ready, sign the document in this manner:
[Name of Principal], by [Name of Agent], Attorney-in-fact
[Agent Signature Sample]
There are a few ways to override a Power of Attorney. First of all, you can simply revoke it, as the principal retains the right to remove the powers at any time.
If, on the other hand, you wish to revoke the Power of Attorney of an already incapacitated family member, you will have to write to the agent to ask them to formally step down as POA.
If they refuse, you may then need to take the matter to court and appoint guardianship before the powers of the agent become inactive.
A Power of Attorney always ends when the principal dies or revokes the document. However, depending on the POA you choose to activate, other factors can end the use of this legal instrument.
You can stipulate in any POA a future date or incident that ends the validity of the document.
Additionally, if you have a General Power of Attorney, it cannot be used if you become disabled or incapacitated. In order to extend the validity of your agent’s powers beyond your future disability or mental incompetence, you will need a Durable POA.
Try Lawdistrict Now
Instant and complete access to our entire library of legal forms
Edit, download and print in PDF from any device
Save time and money on legal document creation